Showing posts with label chocolate. Show all posts

Tuesday, 22 April 2014

Dessert Shots: S'mores & Vanilla Rainbow

IMG_0703editedtitle

I had a great Easter this year and I hope you all did too. I woke and went to the gym with my to get some exercise in before all the craziness began. Once we got home the cooking and baking started and we didn't finish until dinner was served... a full day of being in the kitchen gets tiring but is worth it in the end. My whole family came over for dinner and an Easter egg hunt so the was filled with family, food and chocolate.

IMG_0708editededitedtitle

To compliment the delicious Easter dinner my mom made I created a few desserts and this is the first of three.

IMG_0704edited

These dessert shots are great for kids (adults too) and fun to create! They aren't healthy but, they are gluten free and the kids really loved them so thats all that matters.

IMG_0711edited


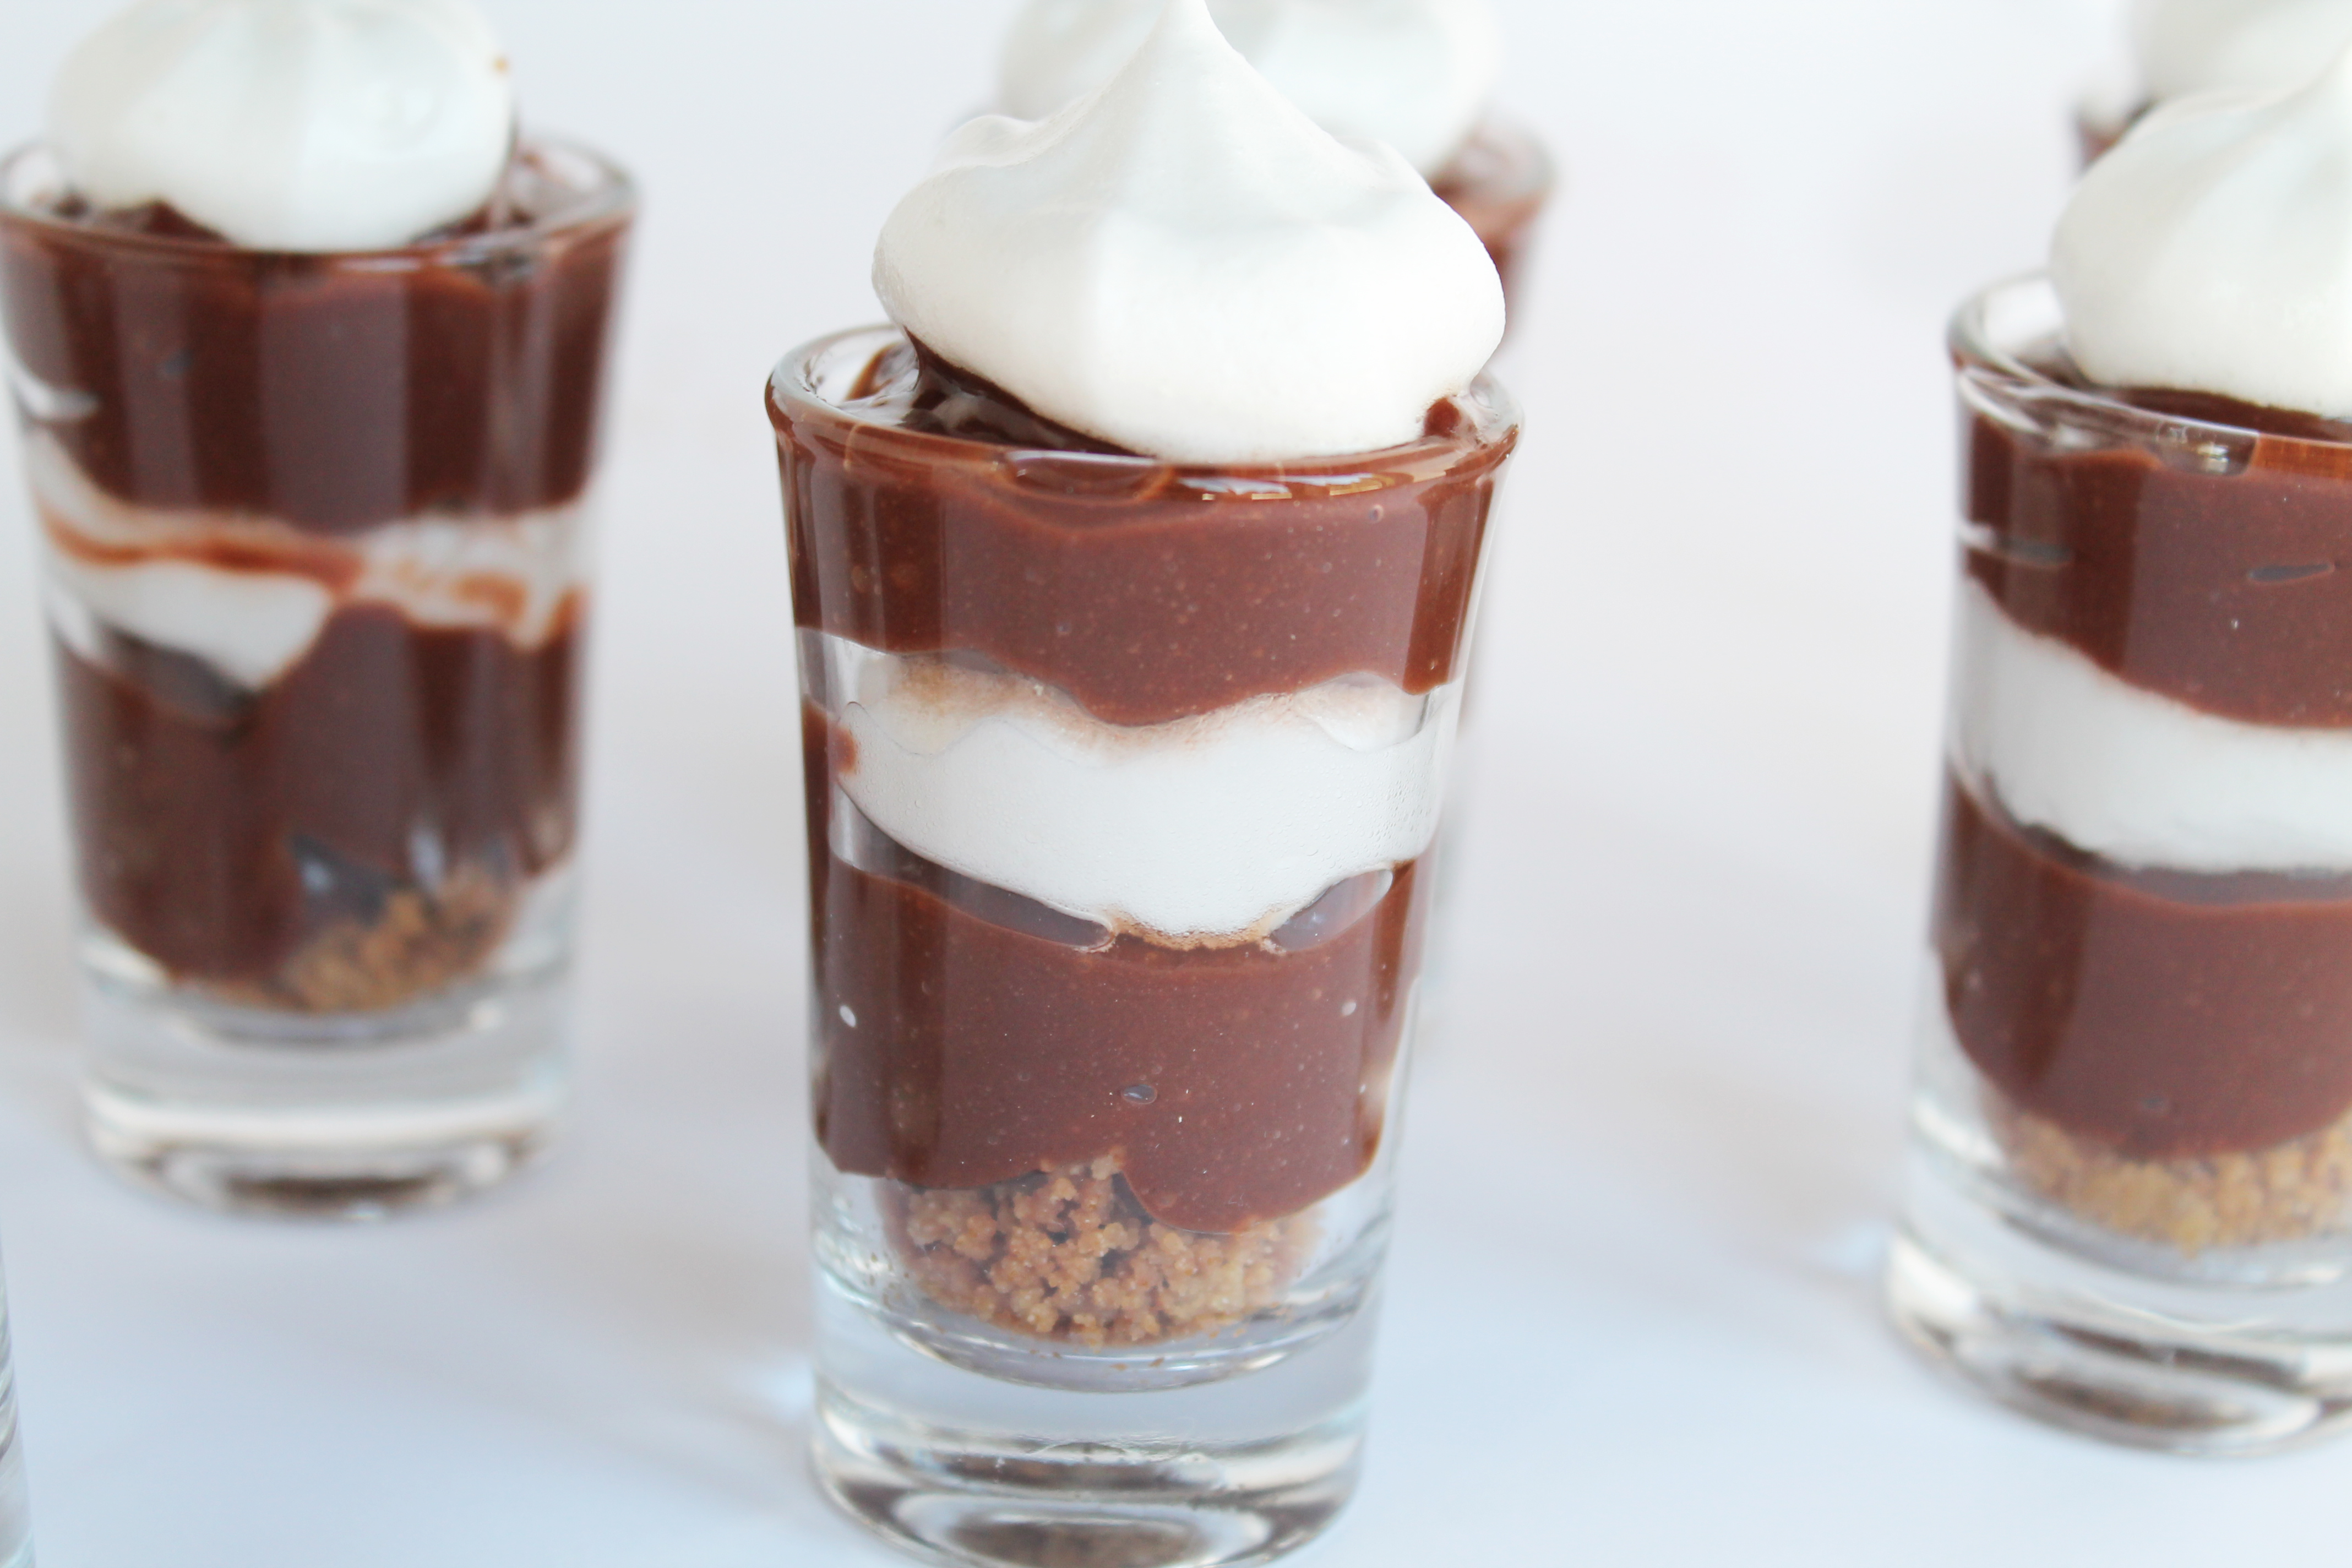
The first flavour I made were a S'more inspired shot and the second was a simple Vanilla Rainbow shot... these desserts were a hit! Not only were they well liked but they were inexpensive and I was able to use the same marshmallow fluff for both shots.
IMG_0706edited


Ingredients: S'mores shot

1 package gluten free graham

1/3 cup butter

1 package chocolate pudding

4 egg whites

1/2 cup sugar

1 tsp. vanilla

1. Preheat oven to 350 F. Combine graham and butter, bake for 10 minutes

2. Make chocolate pudding using instructions on the package. Make the "marshmallow fluff". Place all 4 eggs whites in a mixer, mix for approx. 5 minutes then slowly add sugar and vanilla. Beat until stiff peaks form.

3. Assemble your dessert shots starting with a layer of graham, followed by a layer of chocolate pudding, marshmallow fluff, chocolate pudding then top with a final layer of marshmallow. Allow to set in the fridge.

Ingredients: Vanilla Rainbow Shot

1 package vanilla pudding

food colouring ( red, blue & green)

gluten free chocolate candies

left over marshmallow fluff

1. Prepare vanilla pudding according to package instructions.

2. Separate pudding into three bowls, add red food colouring to one bowl, green to the other and blue to the final bowl. Mix colour into the pudding.

3. Assemble dessert shots by placing a layer of green pudding, followed by a layer of candies, pink pudding followed by a layer of candies, blue pudding and top with marshmallow fluff. Allow to set in the fridge.


Thursday, 27 March 2014

Skinny Brownie Cookies

IMG_0592title

I'm not gonna lie to you, for me making these cookies was a struggles due to the amount of times I had to taste them. It's not that they tasted bad but I am really not a fan of chocolate, so having to taste chocolate batter over and over again was actually a struggle for me. But, thankfully I only had to do one round because thats all it took for these cookies to turn out like I imagined!

IMG_0581edited

These are a spin on a typical brownie cookie minus all the sugar and butter. My version is both gluten free and refined sugar free leaving you with nothing to feel guilty about!

IMG_0588edited

Even the chocolate I used was refined sugar free. I was walking through my bulk food store when I came upon a wonder product. It was an all natural chocolate, sugar free and sweetened with stevia! I was so excited to find this product and this is what inspired me to make a healthy chocolate brownie cookie for all you chocolate lovers out there.

IMG_0593edited

Try it out and let me know what you think of what I like to call a Skinny Brownie Cookie!

Ingredients:

1/4 cup coconut oil

1/8 cup melting chocolate (I used a no sugar added sweetened with stevia chocolate but a semi sweet melting chocolate works well too)

1 egg

2-3 tbsp. stevia

1 tbsp. maple syrup

1/2 tsp. vanilla

1/4 cup or 50 g teff flour

1. Preheat oven to 350 F. Place coconut oil and chocolate in a pot. Melt on medium heat stirring often.

2. While chocolate is melting combine egg, stevia, vanilla and maple syrup. Add melted chocolate.

3.  Add teff flour to the mixture and mix well. Cover a cookie sheet with parchment paper, scoop a heaping tablespoon of cookie batter onto cookie sheet and do that until all batter is gone. Bake for 5-6 minutes and enjoy!

Thursday, 9 January 2014

Chocolate Smoothie

Image


I'm really not a big chocolate fan, but the other day I was craving something chocolatly but wanted to keep it healthy so I decided to create some sort of chocolate smoothie. I had a half of an avocado left in my fridge so I though that would be a great ingredient to make this smoothie creamy and almost like a milkshake texture. Along with the avocado I added a banana (for substance), some ice, almond milk and finally some cocoa and it turned out so good! It has just the right amount of chocolate flavour and felt like I was drinking a chocolate milkshake, but all the ingredients were healthy! This is one of my favourite smoothies I have ever created so I recommend giving it a try next time you want a little chocolate treat throughout your day!

Monday, 23 September 2013

Vanilla Yogurt & Black Bean Brownie Birthday Cake

Image

This weekend was my sisters 17th birthday so to celebrate I created this healthy version of an ice cream cake. I wanted to make a cake that incorporated all things she loves, which would be chocolate, ice cream and sprinkles ( she has a big sweet tooth), but I wanted to find a way to make this combination of ingredients still tasty but clean and a dessert you do not have to feel guilty about eating... this is what I came up with. Happy Birthday baby sis!

What You'll Need: 

Black Bean Brownie Crust: 

1 can black beans

3 tbsp. coconut flour

3-4 tbsp. cocoa powder

1/2 cup shredded zucchini

1/3c unsweetened apple sauce

1/3 cup natural maple syrup

1/3 cup coconut oil ( melted)

2 tsp. vanilla

1/4 tsp. baking powder

pinch of salt

3 tsp. stevia

Frozen Yogurt Layer: 

1 tube vanilla frozen yogurt

1/3-1/2 cup candy/ nuts or whatever you choose ( I chose reese pieces!)

sprinkles

1. Preheat oven to 350 F. Mix all ingredients in a food processor, spread mixture into a 8x8 inch spring form cake pan. Bake for 35 mins, remove from oven and allow to cool completely.

Image

Image

2. Allow vanilla frozen yogurt to sit at room temperature for about 10 minutes to unthaw. Place about half the tube of frozen yogurt in a bowl, mix in your nuts/candy. Spread mixture over black bean brownie base, top with a generous amount of sprinkles and place in the freezer until ready to serve!

Image